Lighting is one of the fundamental pillars of cinematic language. Stop motion takes the dynamism, expressiveness, and creative freedom that animation provides and adds the photography and lighting techniques of live action.
At Inspiranimation, light is just as important as movement. This article explores the most effective techniques for lighting scenes with cinematic authenticity for frame-by-frame animation.
If you want to learn how these lighting techniques are applied in real stop motion productions, you can explore our stop motion course, where we cover lighting, camera control, and full production workflows step by step.
What's different in stop motion shootings
Flicker: origin and solutions
- Erase changing light (such as natural light), isolate shooting sets.
- Due to voltage variations, sensitive light sources require a stress stabilizer.
- Block the automatism in the diaphragm
- Check if there are any screen reflections
- Check reflections in animator's clothes, accessories near the character but out of frame, reflections in tripods, and chromed accessories.
- Avoid automatism on camera settings: white balance, diaphragm priority, or automatic exposure.
- Check if the character movement is generating variations.
Scale and consequences of lighting equipment
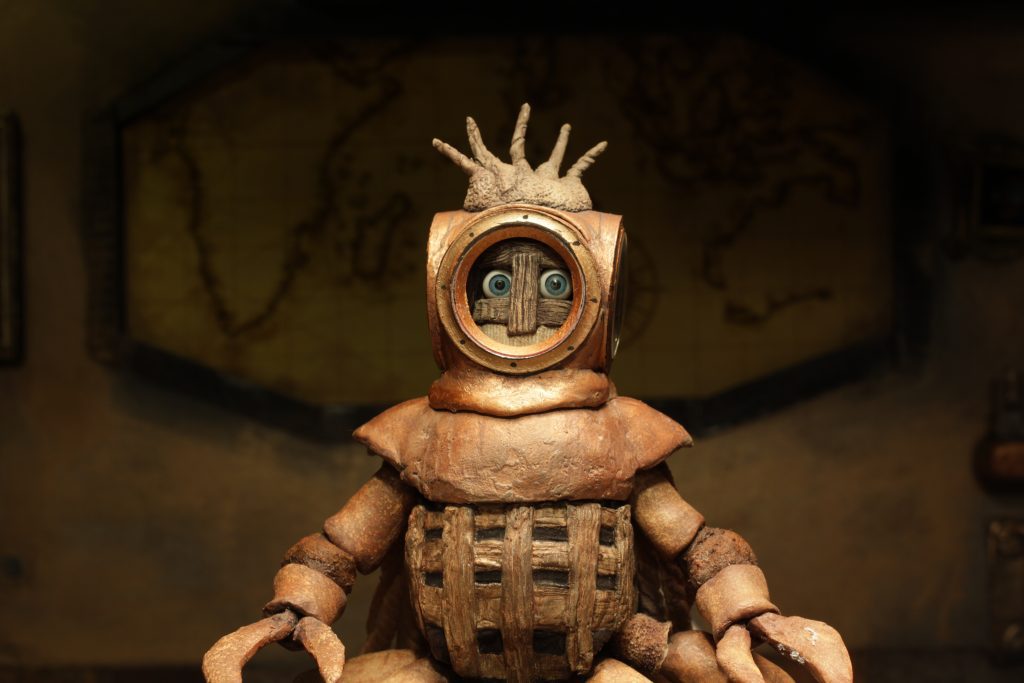
If we compare an actor's height with a puppet's 22cm height, we'll see the scale is reduced by up to a 12%. If we're lighting a scene with real actors using a 5KW light, and we want to do the same set in animation scale, we should replace the source with a 500W light. The perks of this kind of setting are: a reduced electricity bill, the equipment's volume, and the ease of simulating sunlight in exterior settings.
Often used accessories
- Tripods of different weights and heights
- C-stands
- Magic arms
- Porta porex
- Cinefoil
- Flags
- Reflectors
- Fresnel lenses
- Window light
Often used lights
- LED projectors, from 50W to 600W, dimmable and able to change color temperature.
- Lite panels, different sizes, dimmable, and able to change color temperature.
- PAR 16 and 30 (led lamps with CRI 90).
- RGB LED projectors.
Animator's access to characters
- We have to take into account that the animator needs freedom of movement when putting the lights. He needs access to the characters and to avoid accidental hits with light sources and reflectors. The computer must be in a comfortable position for the animator to operate correctly. Attach the camera and tripods to the floor. We need to make sure all the brackets in the equipment (tripods, lights, zoom ring, etc.) are settled.

Chroma Key
When shooting with chroma, we have to ensure no other colour matches the background. In case this happens, we'll need to shoot a clean plate with a different chroma. If it's not possible to resolve, we'll shoot a second exposure with all the lights off except the chroma.
Usually, we cut the light reaching the camera lenses, especially when using a chroma key. Having a flat, leveled chroma makes postproduction easier. The optimal values for the blue and green screens in Dragonframe are between 3.6 and 4.2.
Hard Light vs. Soft Light: Choosing the Right Texture
The quality of light—whether hard or soft—directly affects the visual character of a scene. Each has distinct narrative uses.
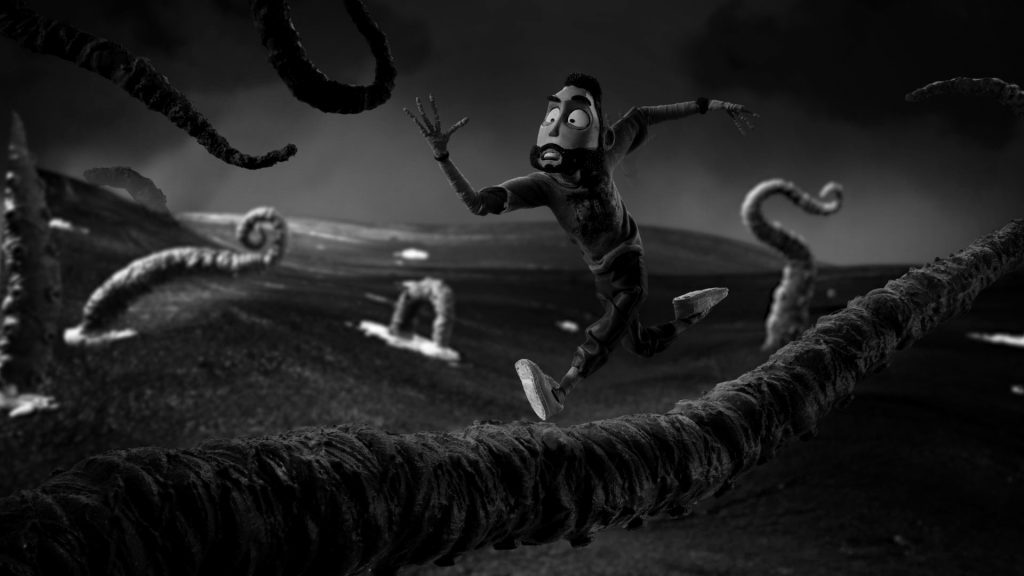
- Hard light: precision, drama, and definition.
Hard light casts strong, sharp, high-contrast shadows. It is ideal for conveying tension, strength, or dynamism. In product shots, it highlights geometric forms, creating a more graphic look. In stop motion, hard light can give personality to simple objects by accentuating textures and volumes. - Soft light: warmth, humanity, and emotional smoothness.
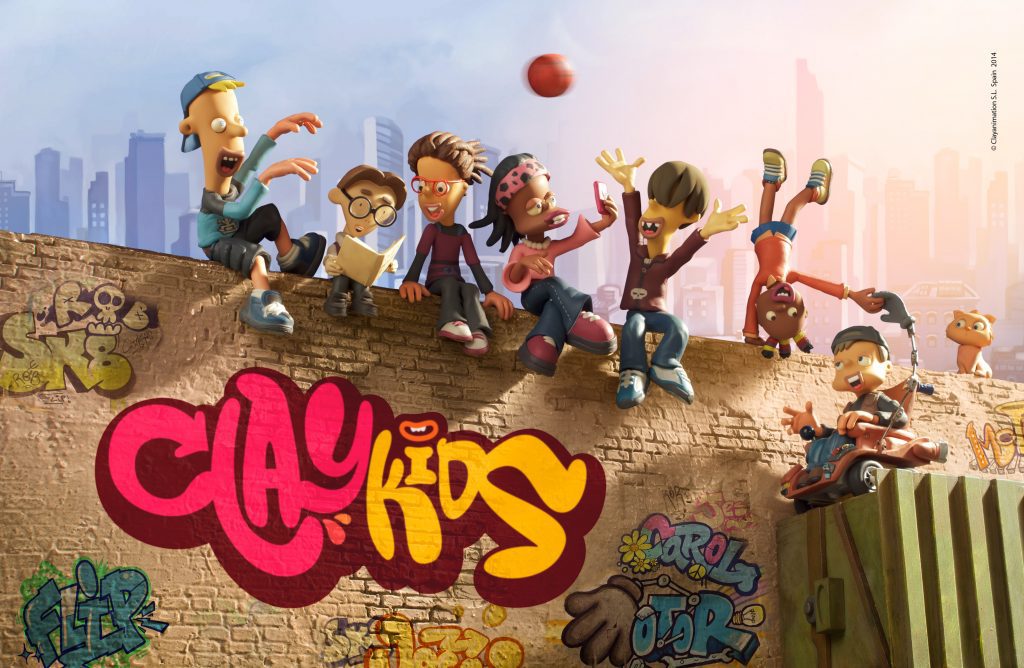
Soft light minimizes harsh shadows, creates gradual transitions, and brings harmony. It is perfect for intimate scenes, positive environments, or visual worlds where the viewer should feel comfortable. For brands seeking approachability, soft light works as a direct emotional language.
In many projects, the contrast between the two is what gives the narrative strength. The key is to choose which one dominates and explain why it serves the specific moment in the story.


Three-Point Lighting
Although modern cinema and animation constantly experiment with alternative setups, the three-point lighting system remains the foundation for many scenes, especially when balanced and professional lighting is required.
- Key light.
The main source that establishes direction and emotional tone. It is usually the most intense and defines the overall contrast of the scene. - Fill light.
Softens overly strong shadows without eliminating volume. It is typically used at a lower intensity than the key to maintain depth. - Back light.
Adds separation between subject and background, improving the outline and adding dimension. In miniature animation, this light is especially useful to prevent characters from “blending” into the set.
It is not mandatory to always use all three lights, but understanding how they work allows you to manipulate them to create more complex atmospheres.
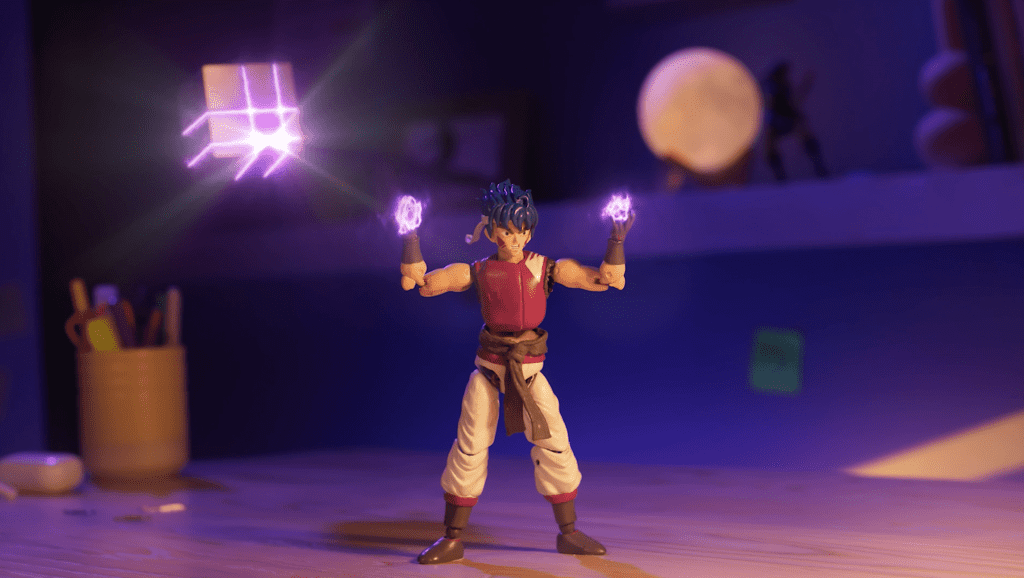
Color Temperature and Emotional Context
Color temperature is a narrative component as important as composition. The difference between warm and cool light changes the emotional feel of a shot even without altering visual elements.
- Warm light (2700K–3500K): closeness and human emotion.
Ideal for domestic, intimate, or emotional scenes. It makes materials like wood or fabric feel cozy and inviting. - Neutral light (4000K–5000K): balance and clarity.
Suitable for informative scenes, workspaces, or environments where neutrality helps reveal detail. - Cool light (5500K–6500K): technology, precision, and distance.
Works well in futuristic, scientific narratives or with products that need to convey efficiency.
Playing with temperature within the same piece can help show narrative, emotional, or temporal shifts.


Practical Lights: Sources Inside the Scene
Practical lights—sources visible within the frame, such as lamps, neons, or windows—add realism and help justify complex lighting setups. They also contribute to building atmosphere.
- Enhance spatial credibility.
A lit lamp explains why a face or product is illuminated from a particular angle, helping the viewer accept the world as coherent. - Add visual depth.
A light placed in the background creates layers, allowing the frame to breathe and avoiding a flat or two-dimensional look. - Reinforce brand aesthetics.
Visible lights can feature colors, shapes, or textures tied to a brand’s visual identity, integrating branding into the environment without feeling artificial.
In stop motion, practical lights often require miniaturization and millimetric control, adding a particularly appealing handcrafted character.